Wednesday, October 07, 2009

Building Our Home! Finally!

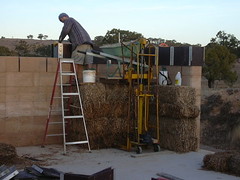
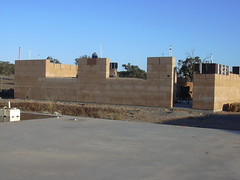
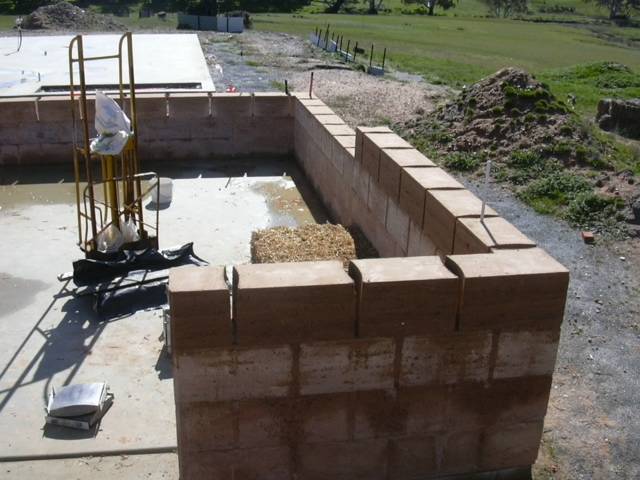
Above is the north-west corner of the main slab. In the background is the double garage (which WE built) and in which we stay when onsite building. The reason for the difference in colours is the age of the blocks. The darker blocks haven't yet dried out. It takes a few days until they attain their final colour. You can see the final colour if you look at the garage in the background.

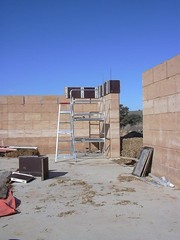
This is the south-west corner. You can see the pipes fed through the blocks. The ones wrapped in orange are to conduct electricity across to the garage. The small white one is for a power point.

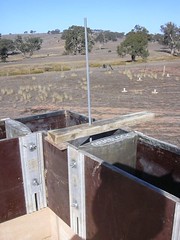
This is the north-east corner. No blocks built there yet but as you can see the molds are in place ready to go.

Saturday, August 22, 2009

Rain and Electric Fences


Due to poor weather we couldn't work outdoors so I used this 'opportunity' to assemble the circuit board for our soon to be electric fence. I am building the electric fence from scratch as the commercial systems are just too expensive considering what they contain and do.
I am using a 12V car battery with the circuit board pictured above(tiny isn't it?) to drive an old car ignition coil. It has a variable pulse rate and costs in total around 15% the cost of a commercial energiser. You can obtain plans for this and other handy circuits at Chemelec. The plans are all free and as an additional service Gary provides kits for most of his designs.

Thursday, August 20, 2009

Blogger Followers

I have added a new feature to the Blog. It may not be that new but it is new to me. It is called Followers and is to the right of this page. Just click on follow and you will be kept up to date on everything that happens. Hooray!

Construction restarting soon

We will be restarting construction within the next two weeks. Hopefully we will be able to recommence this weekend. Photo's, etc, to come. The story of my $11 home-made electric fence will also be told for those trying to do things on a budget or just good old DIYers.

Thursday, December 06, 2007

Hooray! The roof's on.


Our wonderful garage complete with roof
and gable ends - though still a tad breezy!


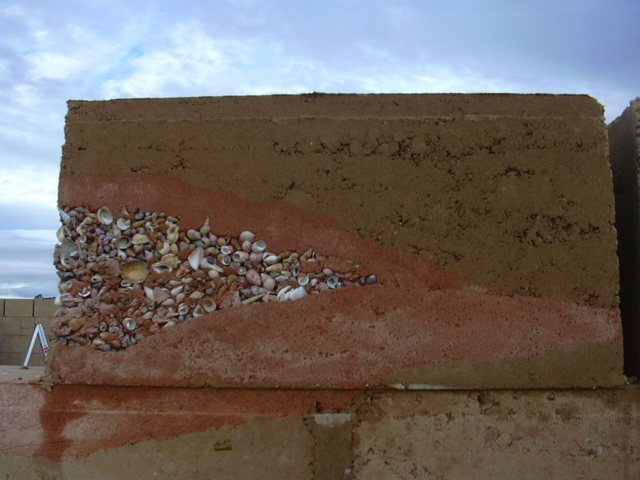
The western end of the garage showing the rocks and shells
that I think are beautiful and that Colin has nicknamed the 'dodgy blocks'!


A view from inside with 'old yella' in the
foreground which also serves as a sawhorse!

Monday, July 31, 2006

Level 8!


Well here is photo of our 8 foot high walls, showing what Colin calls the dodgy blocks! The dodgy blocks are in fact my beautiful feature wall made of shells, rocks and coloured oxides. He calls them dodgy because they took me so long to make and they were much harder than I thought they'd be!! But they look excellent, if a little bit odd!!


This is a close up of our first dodgy block!


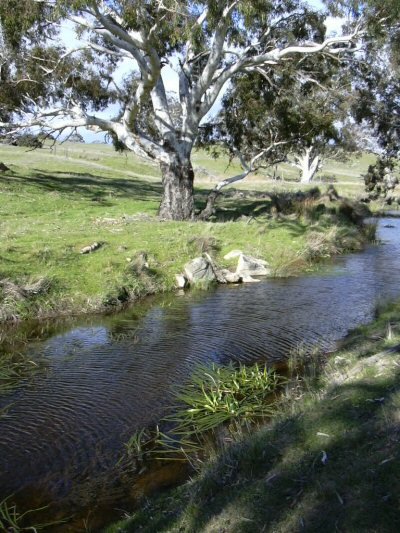
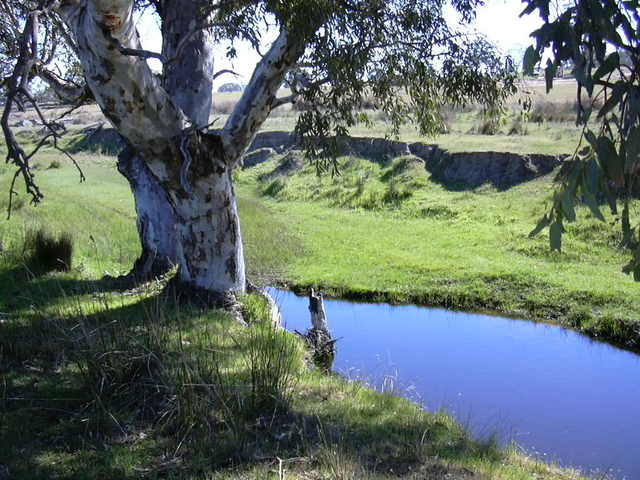
This is one of our permanent waterholes, along the Marne River, which is also our northern border.


This one we call the billabong (that's Australian for waterhole) along the Springton Creek which also runs across our block.


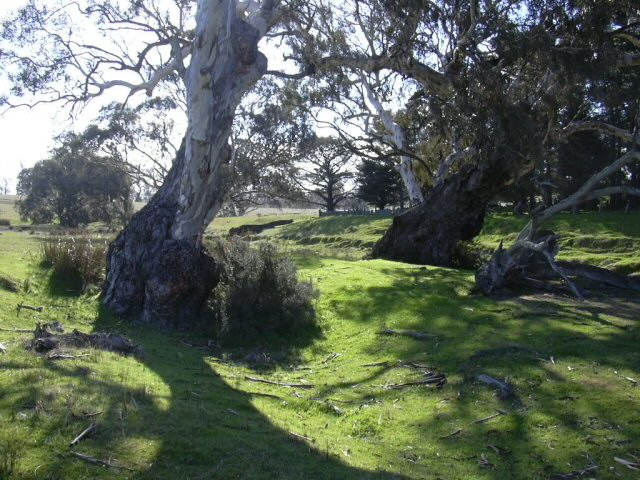
This is down by the river in about October, looking nice and green, but within a month it is very dry and brown!

Tuesday, December 06, 2005

Greetings to Owner Builder readers

Our building project is in the current edition of the Australian magazine 'Owner Builder'. We must apologise for the lack of updates due to the fact that I dislocated my elbow and then just as it was nearly 100% better I fell and broke my wrist. Hopefully the splint will be off this week and we can recommence building.
I have changed the comments to allow unregistered visitors to comment if they wish so feel free.

Colin & Sarah

Tuesday, August 09, 2005

Levels 7 & 8


Completing level seven and still using straw bales as scaffolding. You can see our faithful Old Yella, which is our hand operated pallet jack. This allows us to lift the wheelbarrow right up to the level we are building at, which saves us having to pass up umpteen number of buckets!


Here we are starting on level 8. Straw bales are gone due to Dad's concerns about their safety and stability up so high - thus he paid for the Miniskaff scaffolding! This has been great as it is stable, easy to assemble, and easy to move.


Level 8 is where booker rods need to be placed. These are threaded rods which are embedded in level 8, continue through level 9, and then anchor the roof to the walls via wall plates and trusses.


Northern view of the garage showing the doorway and windows.

Another little local

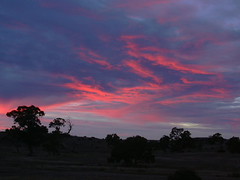
Winter Sunset

Saturday, October 09, 2004

Toilet Training!


Having a wee break!


Our hippy dunny!!

Sunday, October 03, 2004

The Garage


This is the garage at approximately 50% built. As soon as this is finished we will be starting on the house itself. The garage was the first project so we could learn from our mistakes. Thankfully, mistakes have been few and far between.

Wednesday, September 15, 2004

Requested by the SQL Guy

My recently refound friend 'SQL Guy' asked some questions and here they are answered in pictures. This blog takes requests :)


Above is one of the two permanent waterholes. The two waterholes stay pretty much like this even in the driest parts of summer. We will have to wait and see what happens in a major dry spell!


Above is a Wedge Tailed Eagles Nest. It is currently unoccupied but our land is part of the hunting territory for a pair of wedgies and we see them nearly everytime we are there.


A Noisy Neighbour


We have thousands of these critters and the noise they make is so much more preferable to the sound of traffic where we are living now. I can't wait until we have finished the house and have moved in.
I will be setting up a webcam so as blog visitors can be part of the housewarming party :)

Monday, September 06, 2004

First Window


This is our first window sill. We clamped an insert onto the top of one of the shutterboards to create the window sill. The reason the blocks are two toned is that last weekend we discovered we had left the inserts behind. So we did the bottom halves a week ago and finished them when we remembered the inserts this weekend.

Building the Walls

We are constructing our home using earth as the building material. There are several ways of doing this but in the end poured earth was the method that we chose. The main reason being the small environmental footprint(initial and ongoing).
When building with poured earth the blocks are made in-situ. To be able to do this you need a set of molds to put your earth in. We purchased a poured earth construction kit from Formblock, an Australian company.
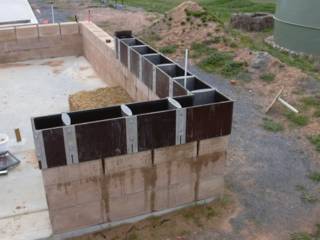

In the picture above we have assembled our 'formblocks' (a standard block measures 600x300x300mm), checked our levels, and are ready to proceed. The white conduit(pipe) is to allow electrical wiring within the walls. This particular one is a power point but the same principle applies for light switches, telephones, network cabling, etc.
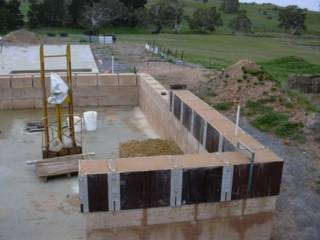

The earth mix is 8 parts soil, 1 part white cement, and approximately one part water. The molds are filled with this mix, tamped down, and left to set. We usually leave them to set overnight.
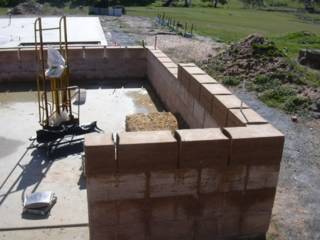

Then we dismantle the molds, clean them up, and are ready to repeat the process. The construction you can see is on the garage with the house's slab visible in the background. We thought it prudent to build the garage first so as to learn from any mistakes and then to not make them on the house.

Earth construction has quite a history.

Sunday, September 05, 2004

Greetings Everyone

My Name is Colin and my wife Sarah and I are currently building our dream home in the Adelaide Hills. Adelaide is the capital city of South Australia which is of course in Australia.
For a little while this blog will be running a little bit back to front as I will be blogging what to us is history but to you will be new (and hopefully interesting).
I hope that someone (or two) out there finds this interesting and maybe picks up on some information that they aren't yet aware of. Something that may help them to build their own home or maybe just motivate them to do something new, creative and/or different.

Sunday, January 11, 2004

Another One of the Locals

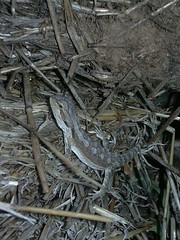
This is an echidna. Just another weird Australian animal.


Saturday, July 05, 2003

One of the Locals

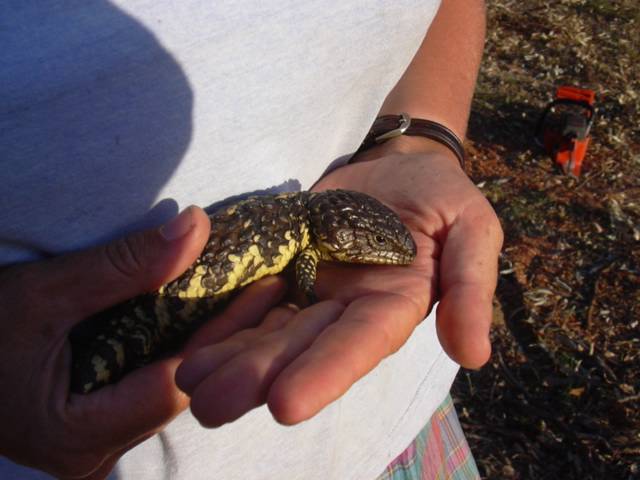
To reach our place you need to drive for about 1.5 kilometres along a dirt road which has historically only been used for sheep. This road is supposedly maintained by our local branch of government so when a tree fell and blocked vehicular access guess who had the chainsaw out?
There's always a silver lining though and here it was that day in the form of a very young stumpy-tailed lizard.

Friday, March 28, 2003

We've got the Power

After some investigation we discovered that power connection would cost us close to $100,000 and also mean a bunch of unsightly power poles dotted across our property. On top of that we would be spending a large amount of cash just to ensure ourselves of a regular and ever increasing energy bill.
We took the alternative approach and went for a Solar System which cost less than half what a connection to the mains supply would have cost.


As the sun isn't out at night we needed to store the power somehow and as my experiments in cold fusion weren't going anywhere we decided on an array of 24x2volt Sonnenschein batteries.


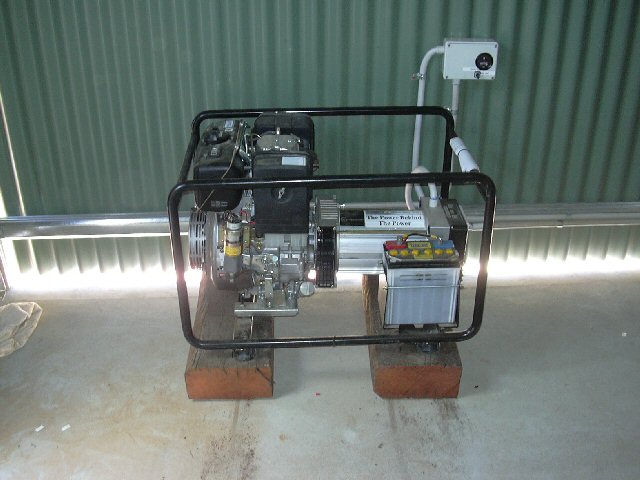
And for those exceptionally rare times when additional power is needed we have also installed a 9hp diesel generator. We chose diesel over petrol because you can actually run diesel engines on vegetable oils. It's a little known fact that when Rudolf Diesel demonstrated his invention at the Paris Show in 1900(1895?) he ran the engine on peanut oil.


And if anyone actually believes that the current spike in energy prices is a temporary aberration caused by instabilities in the market then I have a bridge you might be interested in time sharing with my alpaca.

hits counter